Qtip Skeletons Vol. 2, Day 37 365ish Days of Pinterest Holiday
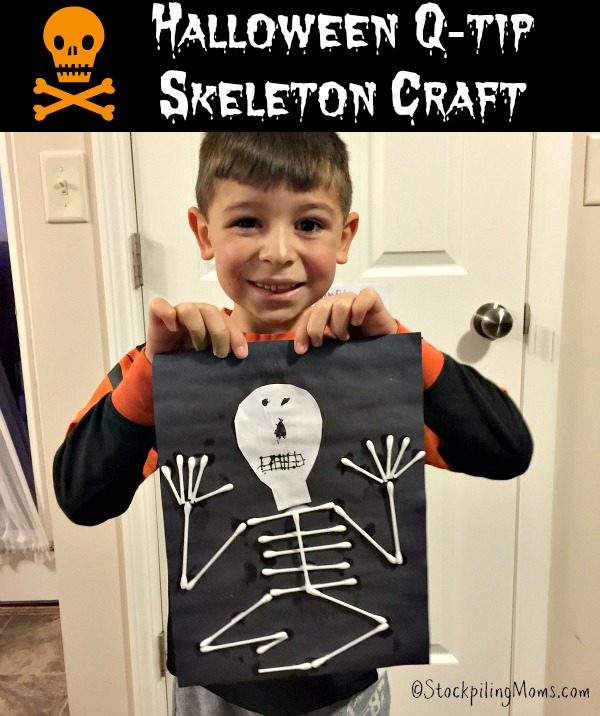
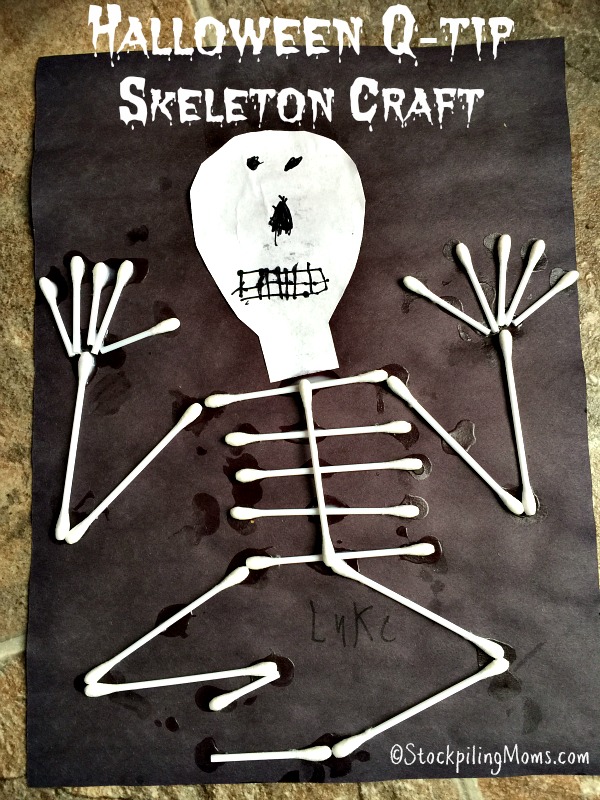
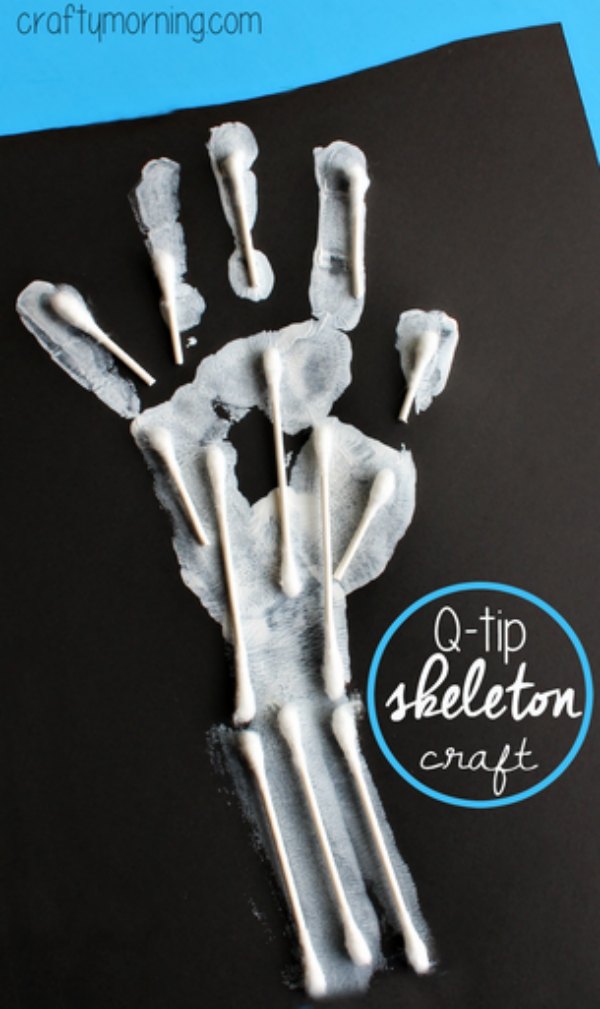
Halloween Qtip Skeleton Craft
Materials Needed: White washable paint. Q-tips. Glue. Black paper. Paint the child's hand and part of their arm with the white paint then have them stamp down on the black paper. It works best if you press down on their arm and hand to get a good print. Have them cut up random size q-tips and glue them down to make the bones.

A Little Artsy & A Little Craftsy Q Tip Skeleton
How to make a skeleton craft with q-tips for Halloween with kids.#craftsforkidsCheck out more great crafts on our website: www.awesomelycrafty.com

QTip Skeleton Craft Skulls Woo! Jr. Kids Activities Children's
Q-tip Skeleton Instructions. 1. Begin by gluing 6 whole Q-tips on the black cardstock for the skeleton's ribs. 2. Glue 1 Q-tip perpendicular over the ribs to act as the backbone. Have the Q-tip lie flush with the last rib, but poke up longer than the top rib, to act as the neck bone. 3.

Not Just Decorating Qtip Skeleton Craft for Kids
Instructions. Download the free skeleton head printable. Choose your favorite skull and cut out the head from the printable. Cut 15 Q tips in half. Prepare head and Q-tips in a skeleton pattern. See images for examples how to place Q-tips to look like skeleton bones. Glue the Q Tips and Skeleton head on black cardstock.

QTip Skeleton Craft for Preschoolers Modern Homestead Mama
You will need to cut: 4 for the ribs. 2 for the arms. 2 for the legs. and 8 tips for the fingers and toes. See the picture below to see how you glued them to the sheet but truthfully you can glue it any way you like. When my kindergartener was doing this activity I let her have a lot more freedom in regards to how she placed the "bones".

Qtip Skeletons Vol. 2, Day 37 365ish Days of Pinterest Holiday
Step 1: Lay out the large skull of the skeleton front the smaller ones. That will insure you have room for everything. Feel free to play around with the orientation of to bones. Aug 9, 2021 - It is a go thing to know the organs or structures in something that you have plus also sensed. This will be affiliated to anticipation and also part of.

Easy QTip Skeleton Craft {Free Printable!} Thriving Home
Make 12 small pieces for the fingers and feet. Then cut 8 q-tips in half to make 16 half-pieces for the arms, legs and body. 3. Start by gluing 1 full q-tip under the skeleton head. 4. Glue 4 half q-tips on each side of the skeleton body. 5. Use half q-tip pieces to make the arms and legs. Play around with different funny poses to make every.

Q tip skeleton craft. Kid stuff Pinterest
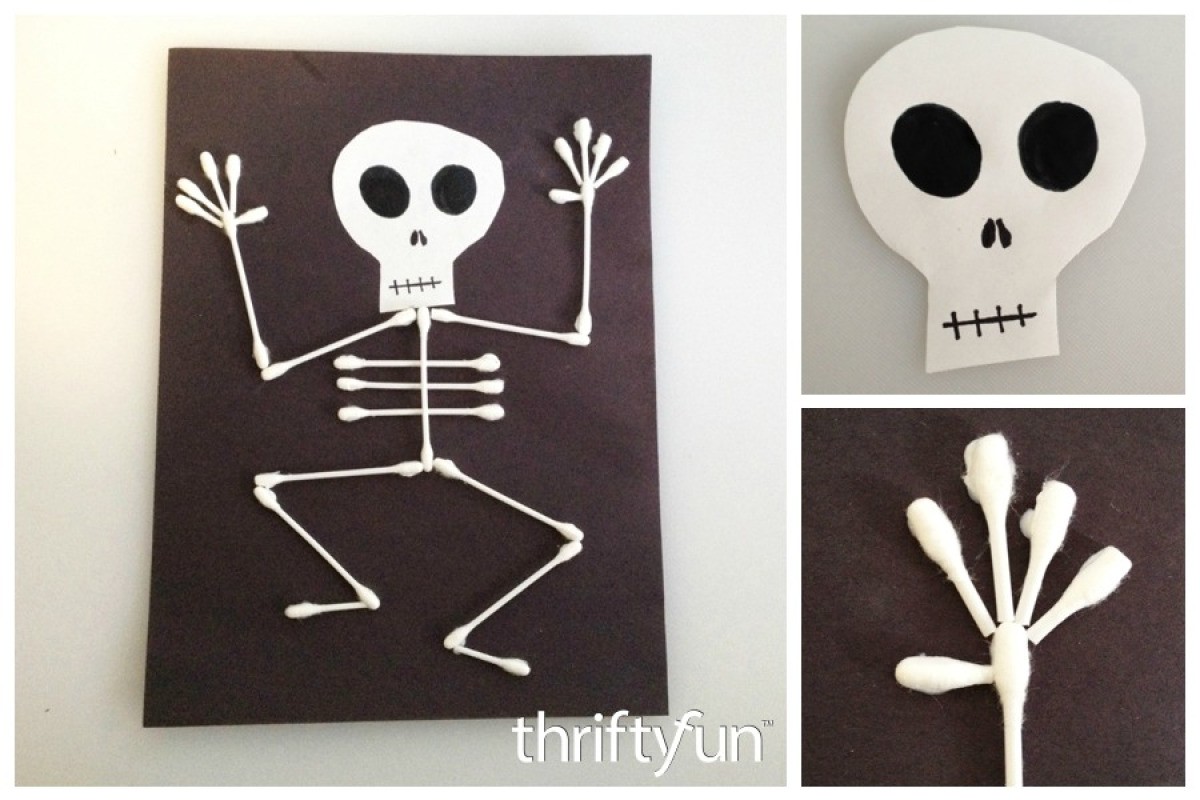
The Q-tip Skeleton Craft. The first thing to do when making a Q-tip skeleton is to select or craft a skull to use. Here are three options: Draw a skull on white or pastel paper using a marker, and fill in the eye socket and teeth details. Then cut it out. Select a sticker or crafted skull.
Kids Halloween Craft Ideas ThriftyFun
We will show you a spooktacular way to create a fun Halloween creation using a simple household item - Q-tips! Join us in making a Q-tip skeleton craft!SUBSC.

Qtip skeleton Craft Ideas Pinterest
To make your q-tip skeleton craft, glue the skull on a black sheet of construction paper and provide your preschooler with q-tips and school glue. Show them how to make a skeleton by gluing the q-tips in a similar way to the above pictures. Obviously, this craft isn't very close to an actual skeleton, but it's a fun, hands-on way to.

QTip Skeleton Halloween Craft for Kids Woo! Jr. Kids Activities
This fun Q tip skeleton craft is one of our favorites at Halloween! Children glue q tips onto black paper to create a skeleton body and draw their skeleton's face with marker. Older children can draw their own simple skeleton body and then cover with glue while younger children can glue over a pre drawn skeleton body. Craft Materials Craft Steps.

Halloween Skeleton Qtip Craft
Print the template below to make the skeleton's head. CLICK ON IMAGE TO OPEN IT UP BIGGER TO PRINT. Step 1. Print skulls template out. Get a piece of black paper, Q-tips and glue/paste out for next step. Step 2. Glue a whole Q-tip with 6 half Q-tips, slanted, on both side of it - for ribs. Step 3. Get 2 Q-tips for each arm and leg.
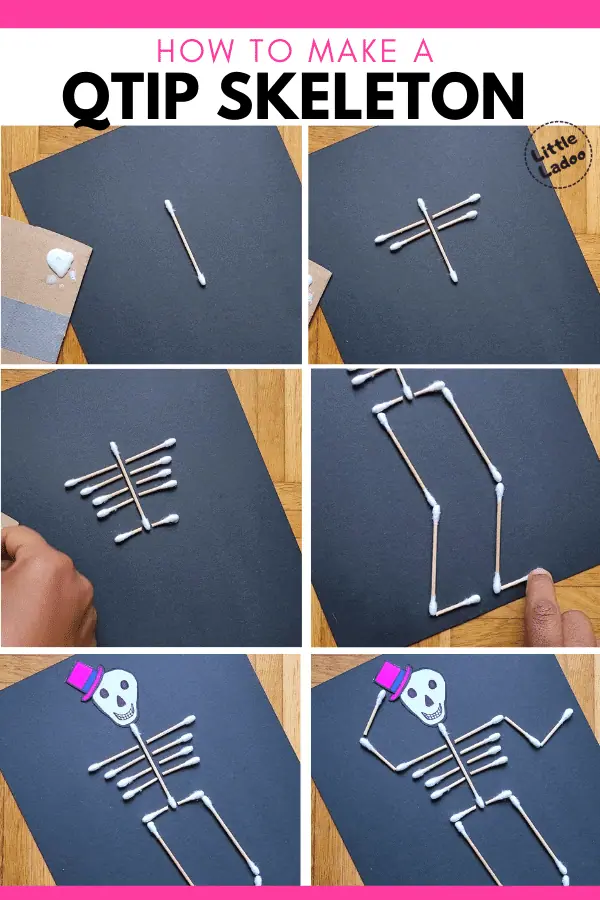
QTip Skeleton craft Little Ladoo
This Q-Tip skeleton craft is where sensory play and anatomy collide! Cotton swab bones and DIY black play dough combine to look like x-rays! Keep on reading for the simple recipe! Where Sensory Play Meets Q-Tip Skeleton Craft . Making and playing with play dough is such a fun sensory activity in and of itself! Adding cookie cutters shaped like.
Halloween Qtip Skeleton Craft
Finally, add the hands with four Half Q-Tips. It is done! To make the Skeleton craft adorable, we have added a Hat, as in the book Funnybones. Teach the Skeletal system with this Q-Tip craft. You can teach the names of a few Important bones like skull, spine, ribs etc. We learned 6 Bone names using small handwritten Name cards.
Halloween Craft Roundup Handmade KidsHandmade Kids
The entire q-tip skeleton craft took us about 15 minutes to create. My kids had fun laying out all of the different swabs to try different poses and positions. There is no right way to arrange the arms and legs. I suggested to my kids that they arrange the swabs how they wanted them before gluing. My kids even cut tiny pieces of a cotton swab.

Qtip skeleton craft Skeleton craft, Art activities, Art lessons
At the end of each thigh bone, glue a shin bone. Cut two q-tips to about two-thirds length, and glue in place as the skeleton's feet. Attach a q-tip near the end of the top rib, to serve as the upper arm; repeat on the other side. At the end of these, place two more q-tips as forearms. Cut five q-tips in half, then snip a little more of each.
