Simple Steps to Save a JPEG File in GIMP

How to Save as JPEG in GIMP Davies Media Design
How do you let GIMP save as JPEG? Just follow the steps. Step 1. Open the GIMP image editing software on your PC. (Windows, Mac, Linux) Step 2. Select the File > Open to browse through your local system to upload an image. Step 3. After your editing, click the File > Export as. Step 4.
GIMP review and where to download review TechRadar
Saving the JPEG File in GIMP. Now that you have adjusted the export settings, chosen a suitable file name, and selected the destination folder, it's time to save your image as a JPEG file in GIMP. Saving the image in the correct format ensures compatibility and easy sharing across different platforms and devices.
:max_bytes(150000):strip_icc()/ScreenShot2018-01-10at12.30.05PM-5a5669dae258f800377c3f0c.png)
Simple Steps to Save a JPEG File in GIMP
How to save your Image as a JPG-File in Gimp: Step by StepWritten Guide ️ https://imagy.app/save-gimp-as-jpeg00:00 - Intro00:13 - Using "Export As."00:20.

GIMP "AMP I" Timelapse YouTube
Step-by-Step Guide to Saving an Image as a JPEG in GIMP. 1. Open GIMP and select the image you want to save as a JPEG. 2. Click on the File menu and select Export As. 3. In the Export Image window, select JPEG as the file type. 4. Select the destination folder where you want to save the image. 5. Enter a name for the image in the File Name.
:max_bytes(150000):strip_icc()/ScreenShot2018-01-10at12.25.31PM-5a5668db98020700374c25c4.png)
Simple Steps to Save a JPEG File in GIMP
GIMP How to save as jpg 9,199 views 49 CrossMind Studio View more GIMP Tutorials at http://nytlyt.com/gimp-tutorials/GIMP How to save as jpg1. Choose File, then Export.2. Right Click on.

GIMP Save for Web Plugin How to Optimize Images for Web
To save an image in the JPEG format using GIMP: Select File > Export As . Use the Export As box to assign a name and location to the image. Click Select File Type to open the list of available file types. Scroll down the list and select JPEG Image . Select Export to open the Export Image as JPEG dialog box. Select optional JPEG settings.
1.7 saving an SVG from GIMP YouTube
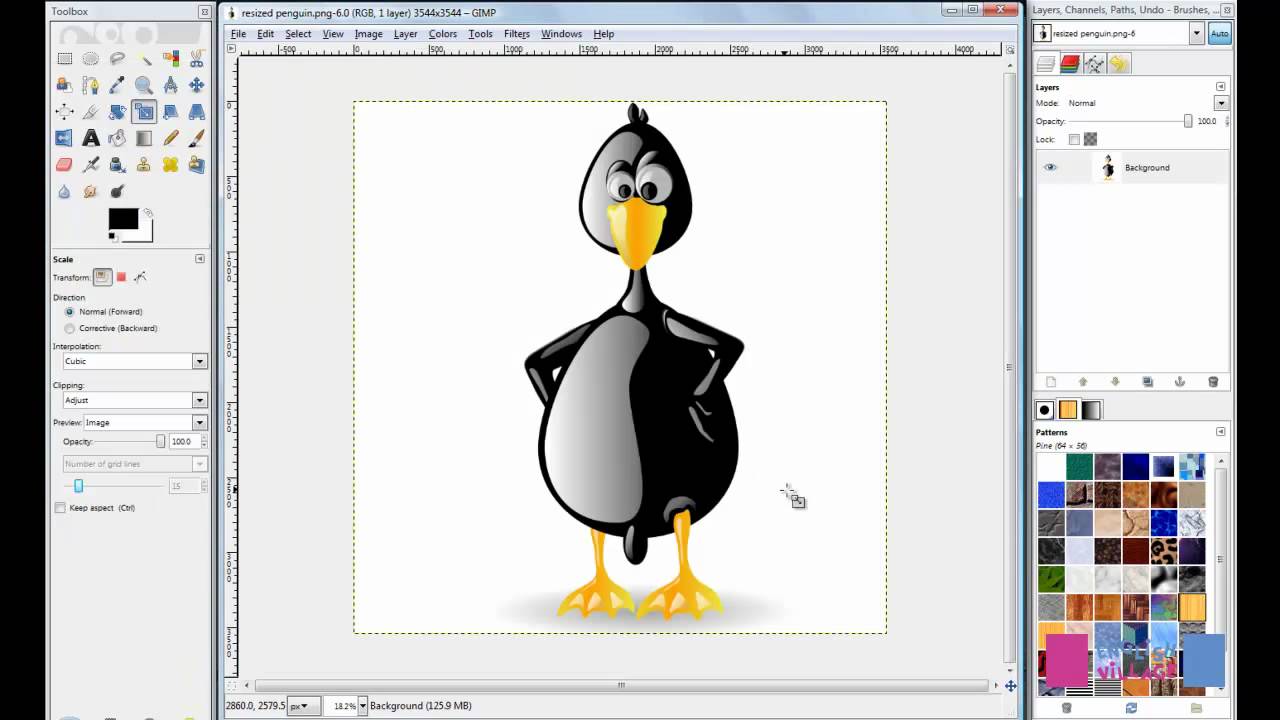
You can only save it as one of GIMP's native filetypes (usually something of the .XCF variety, which is the equivalent to Photoshop's .PSD document but for GIMP), which you can see after the name of your file (denoted by the red arrow in the photo above) or by clicking on the "Select Filetype By Extension" dropdown (denoted by the blue arrow abo.
Installing GIMP Plugins and Scripts In Windows
1. Files 1.1. Save / Export Images 1.2. File Formats 2. Preparing your Images for the Web 2.1. Images with an Optimal Size/Quality Ratio 2.2. Reducing the File Size Even More 2.3. Saving Images with Transparency 1. Files GIMP is capable of reading and writing a large variety of graphics file formats.

GIMP Saving as xcf and jpeg YouTube
This tutorial gives a detailed breakdown of how to save GIMP as JPEG. Total Time: 3 minutes. Open the Export As Dialog Box. Go to the File menu in the main toolbar and then select Export As. Assign a File Name. In the dialog box that appears, edit the file name and choose the location you want to save the image in.
:max_bytes(150000):strip_icc()/ScreenShot2018-01-10at12.18.38PM-5a56683596f7d00037184e1e.png)
Simple Steps to Save a JPEG File in GIMP
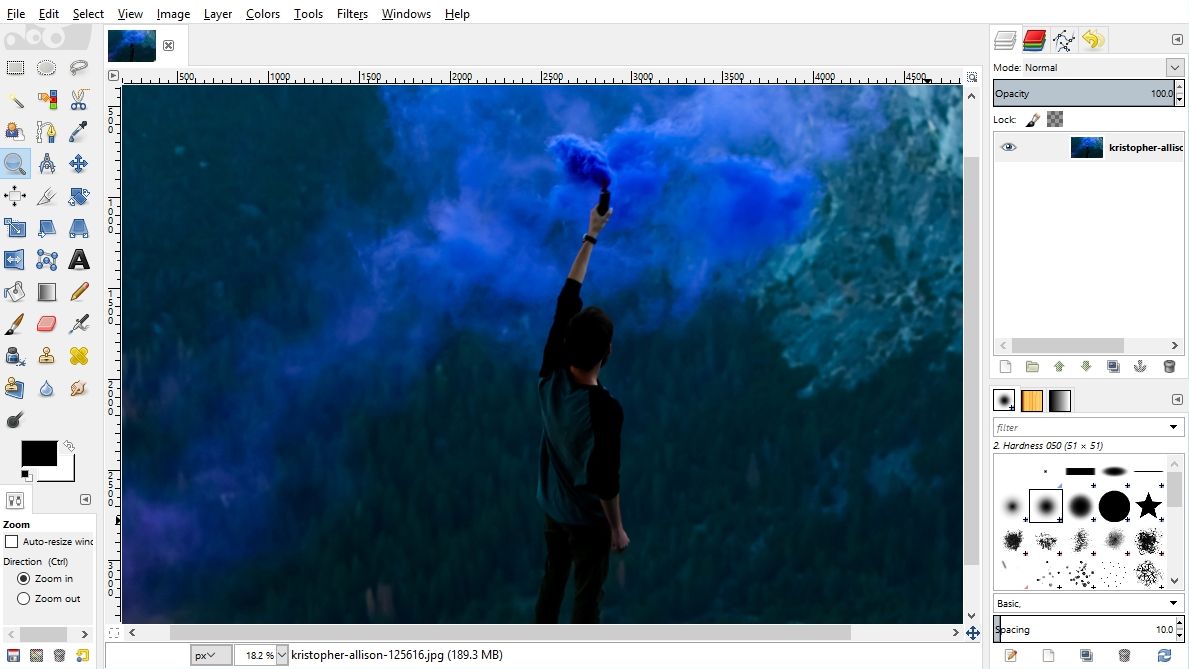
Method 1 to Export a Layer from GIMP. For the first method, simply shift+click on the eye icon next to the layer you'd like to isolate and export. For example, if I want to export the layer with the female model (she has a yellow arrow pointing to her), I can shift+click on the eye icon next to that layer (red arrow in the image above).
Saving Images For The Web Digital Communications Montclair State University
Quick Video Tutorial On How to Save Image as Jpg in GIMPIf you like this short video check out my other tutorials: DaVinci Resolve Tutorials for Beginnersht.

Saving And Exporting Images In Gimp Tutorial For Beginners in 2021 Gimp tutorial, Gimp, Tutorial
Step 1: If you don't already have your image open, open your XCF file (XCF is GIMP's native file format) Step 2: Choose Export As from the File menu. Step 3: Select JPEG as the file type and configure your compression settings. You're done! You've saved your GIMP file as a JPEG image. Don't feel bad if you're surprised by how easy it is.
GIMP How to Save as JPG! YouTube
To save a GIMP image as a JPEG, open the image in GIMP and go to File > Export. In the Export Image window, select JPEG as the file format and choose a quality setting. Click Export to save the image as a JPEG file. GIMP can be used to save files in a variety of formats, including Jpeg, Png, Tiff, Gif, and many others.

GIMP review TechRadar
How to Save As JPG In GIMP. 1. To save your image as a JPG file, go to File - Export As. 2. Once you choose your image's location in the folders, you can write ".jpg" in the name section or click on "Select File Type" and scroll down until you find the JPG option. After that, click "Export.". 3. From the last menu you can adjust.
:max_bytes(150000):strip_icc()/003_saving-images-jpegs-in-gimp-1701727-029e59efef0640c494cef51dd5993557-b31d599583724af5b97614006ce1f3ec.jpg)
Simple Steps to Save a JPEG File in GIMP
GIMP/Saving as JPEG - Wikibooks, open books for an open world [ dismiss] - GIMP/Saving as JPEG < GIMP When saving as a JPEG, you should let the image itself dictate the quality rather than reusing settings. The same settings for one image may produce significant loss on another. Contents 1 Basic Settings 2 Advanced Settings 2.1 Lossy 2.2 Lossless
:max_bytes(150000):strip_icc()/005_saving-images-jpegs-in-gimp-1701727-7a9d2755b08c4333974b4324dd046887-19a095d080ee4711b6e2580c625e66fa.jpg)
Simple Steps to Save a JPEG File in GIMP
Learn GIMP with this Quick Tips & Tricks playlist: https://www.youtube.com/playlist?list=PLON0OoQHhALbSrki3A28fZUrWYiM6SSmq Quick Video Tutorial On How to Sa.
