POWER Pressure Cooker XL User Guide

Pin by Charlie Wilson on Pressure cooker recipes Power pressure
This PDF owner's manual is for the Power Pressure Cooker XL 10 Quart PPC790. Power Pressure Cooker XL 10 Quart Model: PPC790. Read and follow all instructions carefully. Save these instructions. (PDF) OWNER'S MANUAL in English (EN) language. CONTENTS: - Important Safeguards. Short cord instructions. - Special features - Built-In.

Power Pressure Cooker Xl Manual Pdf
Pressure Canning Guide Getting Started Your Power Pressure Cooker XL Pro™ is designed to accommodate 4 - 16 oz. (1 pint) wide mouth jars per canning session. We suggest you use jars with self-sealing lids. Jar Cleaning Always wash empty jars in hot water with detergent by hand or in dishwasher. Rinse thoroughly.
COSORI Pressure Cooker Review (2021 Update)
To ensure a good seal, carefully follow lid manufacturer's directions in preparing lids for use. Examine all metal lids carefully. Do not use old, dented, or deformed lids, or lids with gaps or other defects in the Sealing Gasket. FIG. 24. 6-10-Quart Power Pressure Cooker XL™ | Models: PPC771-PPC773.

POWER Pressure Cooker XL User Guide
Save These Instructions - For Household Use Only Owner's Manual MODEL: MFC-AF-6 CAPACITY: 6 Qts. POWER: 1550W, 120V When using electrical appliances, basic safety precautions should always be followed.
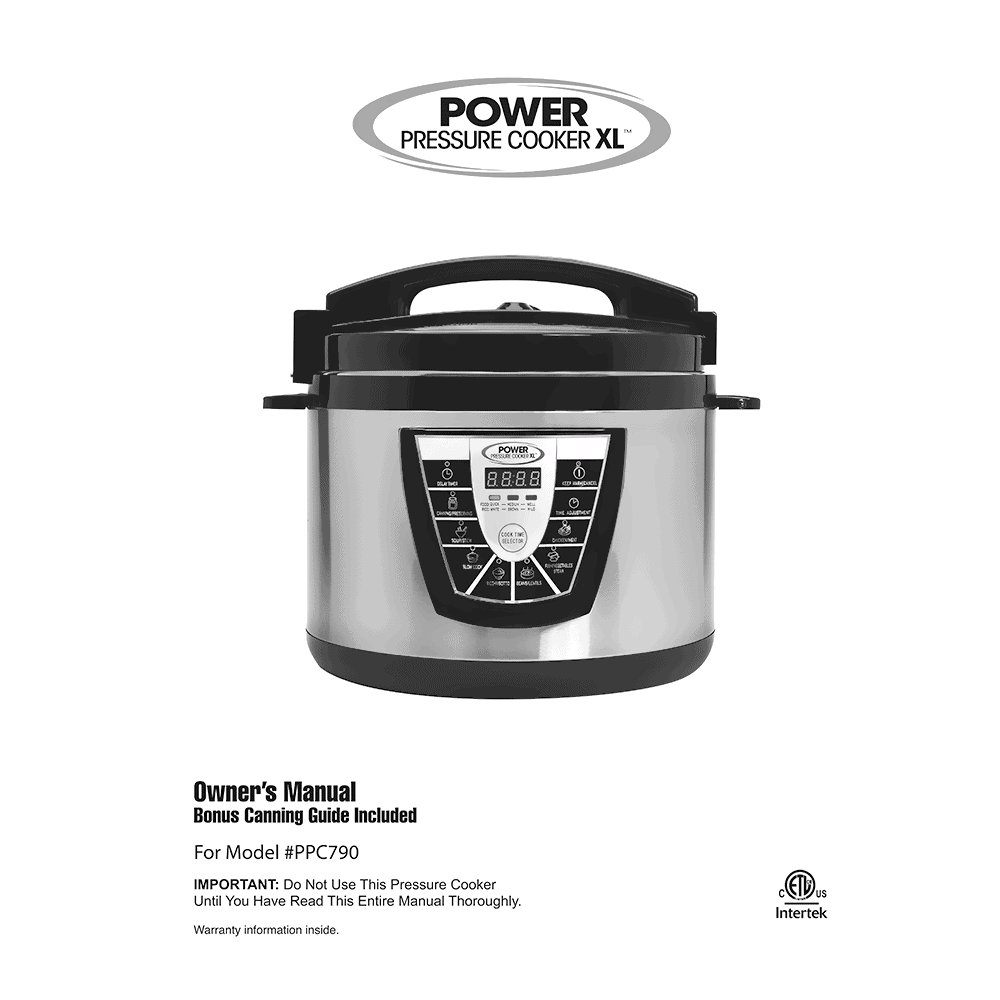
Power Pressure Cooker XL 10QT PPC790 User Manual
If you need to open the Power Pressure Cooker XL, press the "KEEP. WARM/CANCEL" button and using tongs or a kitchen tool carefully rotate the Pressure Valve to the OPEN position (fig. 4, page 4) to fully release the building pressure inside the cooker. Make sure that all the steam has dissipated from the cooker.

Read Power Pressure Cooker XL Cookbook Simple, Quick and Easy Guide
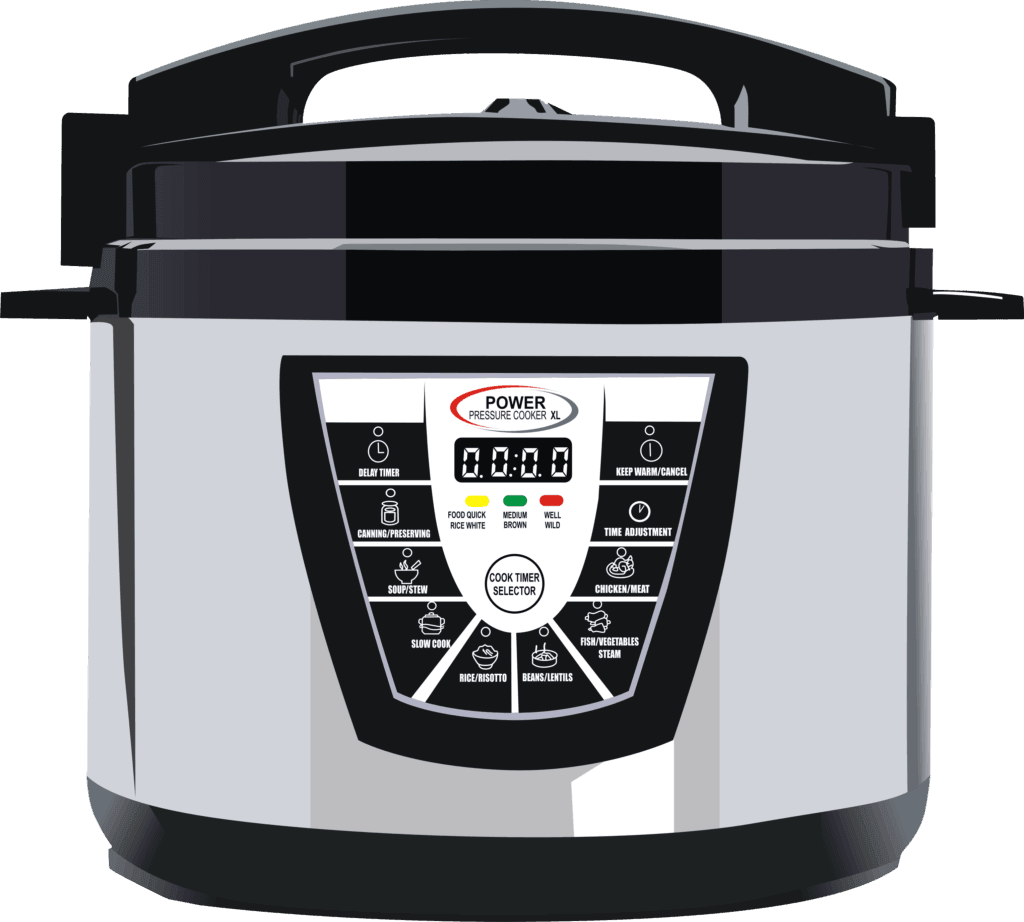
The Power Pressure Cooker XL pressure buttons: Fish/Veg/Steam - 2 minute cook time, use the cook time selector to adjust to 4 or 10 minutes. This is the shortest cook time available on the Power Pressure Cooker XL. Beans/Lentils - 5 minute cook time, use the cook time selector to adjust to 15 or 30 minutes. Rice/Risotto - 6 minute cook.
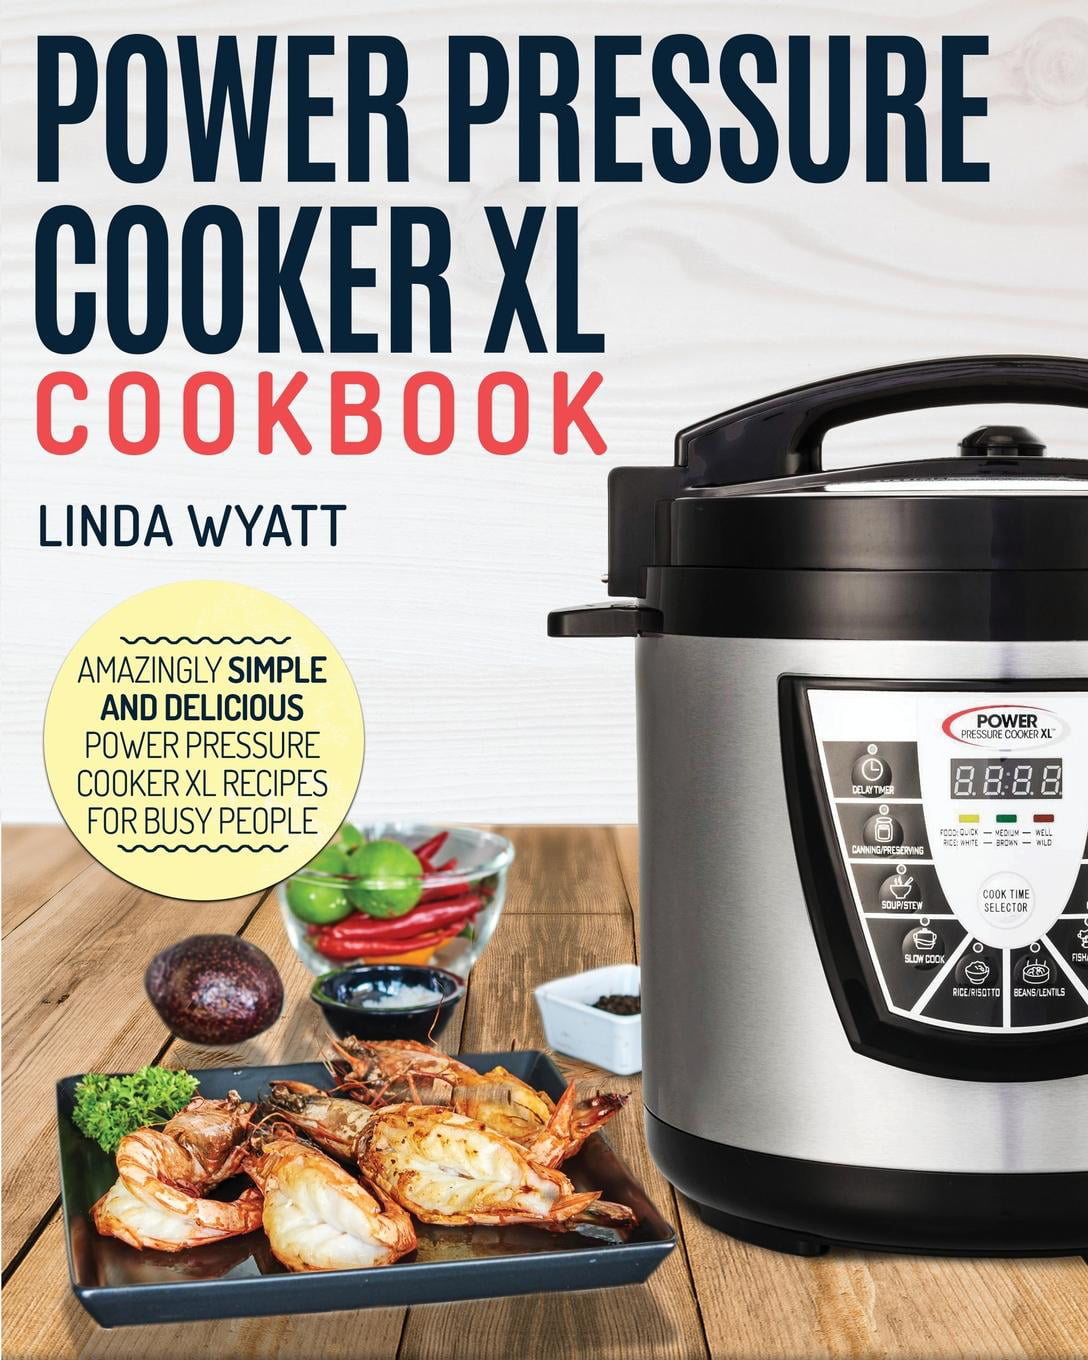
Power Pressure Cooker XL Cookbook Amazingly Simple and Delicious
according to the instructions in the user manual, the guarantee becomes invalid and Tristar will not be held liable for damages. DO NOT use this appliance for anything other than its intended use. • NEVER connect this appliance to an external timer switch or separate remote-control system. • When ready to start, plug the hardwired cord
The Main Differences Between the Power Pressure Cooker XL and the
Pressure Canning Guide Getting Started Your Power Pressure Cooker XL is designed to accommodate 4 - 16 oz. (1 pint) wide mouth jars per canning session. We suggest you use jars with self-sealing lids. Jar Cleaning Always wash empty jars in hot water with detergent by hand or in dishwasher. Rinse thoroughly.

POWER Pressure Cooker XL User Guide
The Power Pressure Cooker XL is now ready for use. Lid (underside) Rubber Gasket #1. For proper cleaning the Rubber Gasket should be removed. Using the Pull Tab located beneath the Lid, remove the Pot Lid Liner that holds the Gasket. After cleaning, re-attach Gasket to Lid Liner and snap back in place.

Pressure Canners for sale in Minneapolis, Minnesota Facebook Marketplace
Rinse with clean water and dry thoroughly. To ensure correct fitting of the Rubber Gasket, fill the Inner Pot (pictured below #2) with water about. 2/3 full, place the Lid on the cooker (Pictured below #3), then Rotate the Pressure Valve to the Close position and run on CANNING mode for 10 minutes.

POWER PRESSURE COOKER XL INTERTEK 4009349
5. Place the lid on the Power Cooker, lock the lid and switch the pressure release valve to closed. 6. Press the SOUP/STEW Button. 7. Once the timer reaches 0, the cooker will automatically switch to KEEP WARM. Switch the pressure release valve to open. When the steam is completely released, remove the lid. 8. Stir in sour cream. 9. Serve.

The Pressure Cooker Recipe Converter! ⋆ hip pressure cooking Hip
clicks into place. Only a little pressure applied to the end of the Sealing Arm is required to lock the Sealing Arm (see Fig. B). 6. Press the Seal Only Button to seal a bag without vacuum sealing, or press the Vacuum & Seal Button to vacuum seal the bag. The light next to the selected button will illuminate when pressed and then turn off

Instant Pot Parts Diagram
Page 21: Manufacturer's 60 Day Warranty. $19.99 to the following address: Tristar Products, Inc. 500 Returns Road Wallingford, CT 06495. 8-Quart Power Pressure Cooker XL™ | Model: PPC772. Page 23 We are very proud of the design and quality of our Power Pressure Cooker XL This product has been manufactured to the highest standards.

Top 7 Pressure Cooker Xl Accesseries Home Previews
8-Quart Power Pressure Cooker XL™ | Model: PPC7723 Table of Contents IMPORTANT SAFEGUARDS 4 Built-in Safety Features 6 Special Features 7 Parts & Accessories 8 Before First Use 9 General Operating Instructions 10 Pressure Cooking Charts 12 Frequently Asked Questions 13 Care & Cleaning 14 Trouble Shooting 15 Canning Guide 16 Manufacturer's 60 Day Warranty 21

Power Pressure Cooker XL Cookbook The Quick and Easy Pressure Cooker
Unplug and let the Power Cooker cool to room temperature before cleaning. Wash the removable pot with warm, soapy water and clean with a soft cloth or sponge. Rinse off with clean water and towel dry. Remove the RUBBER GASKET (page 4, Illustration #1) from the underside of the self-locking LID.

Valve 20 Pack Pressure Cooker Steam Valve Universal
6-10-Quart Power Pressure Cooker XL™ | Models: PPC771-PPC7737 Parts & Accessories Your Power Pressure Cooker XL has been shipped with parts and accessories as shown above. Check everything carefully before use. If any part appears damaged, do not use this product and contact supplier using customer service number located in the back of
