Learn How To Use Beta and the AI Generative Fill 🐝 YouTube
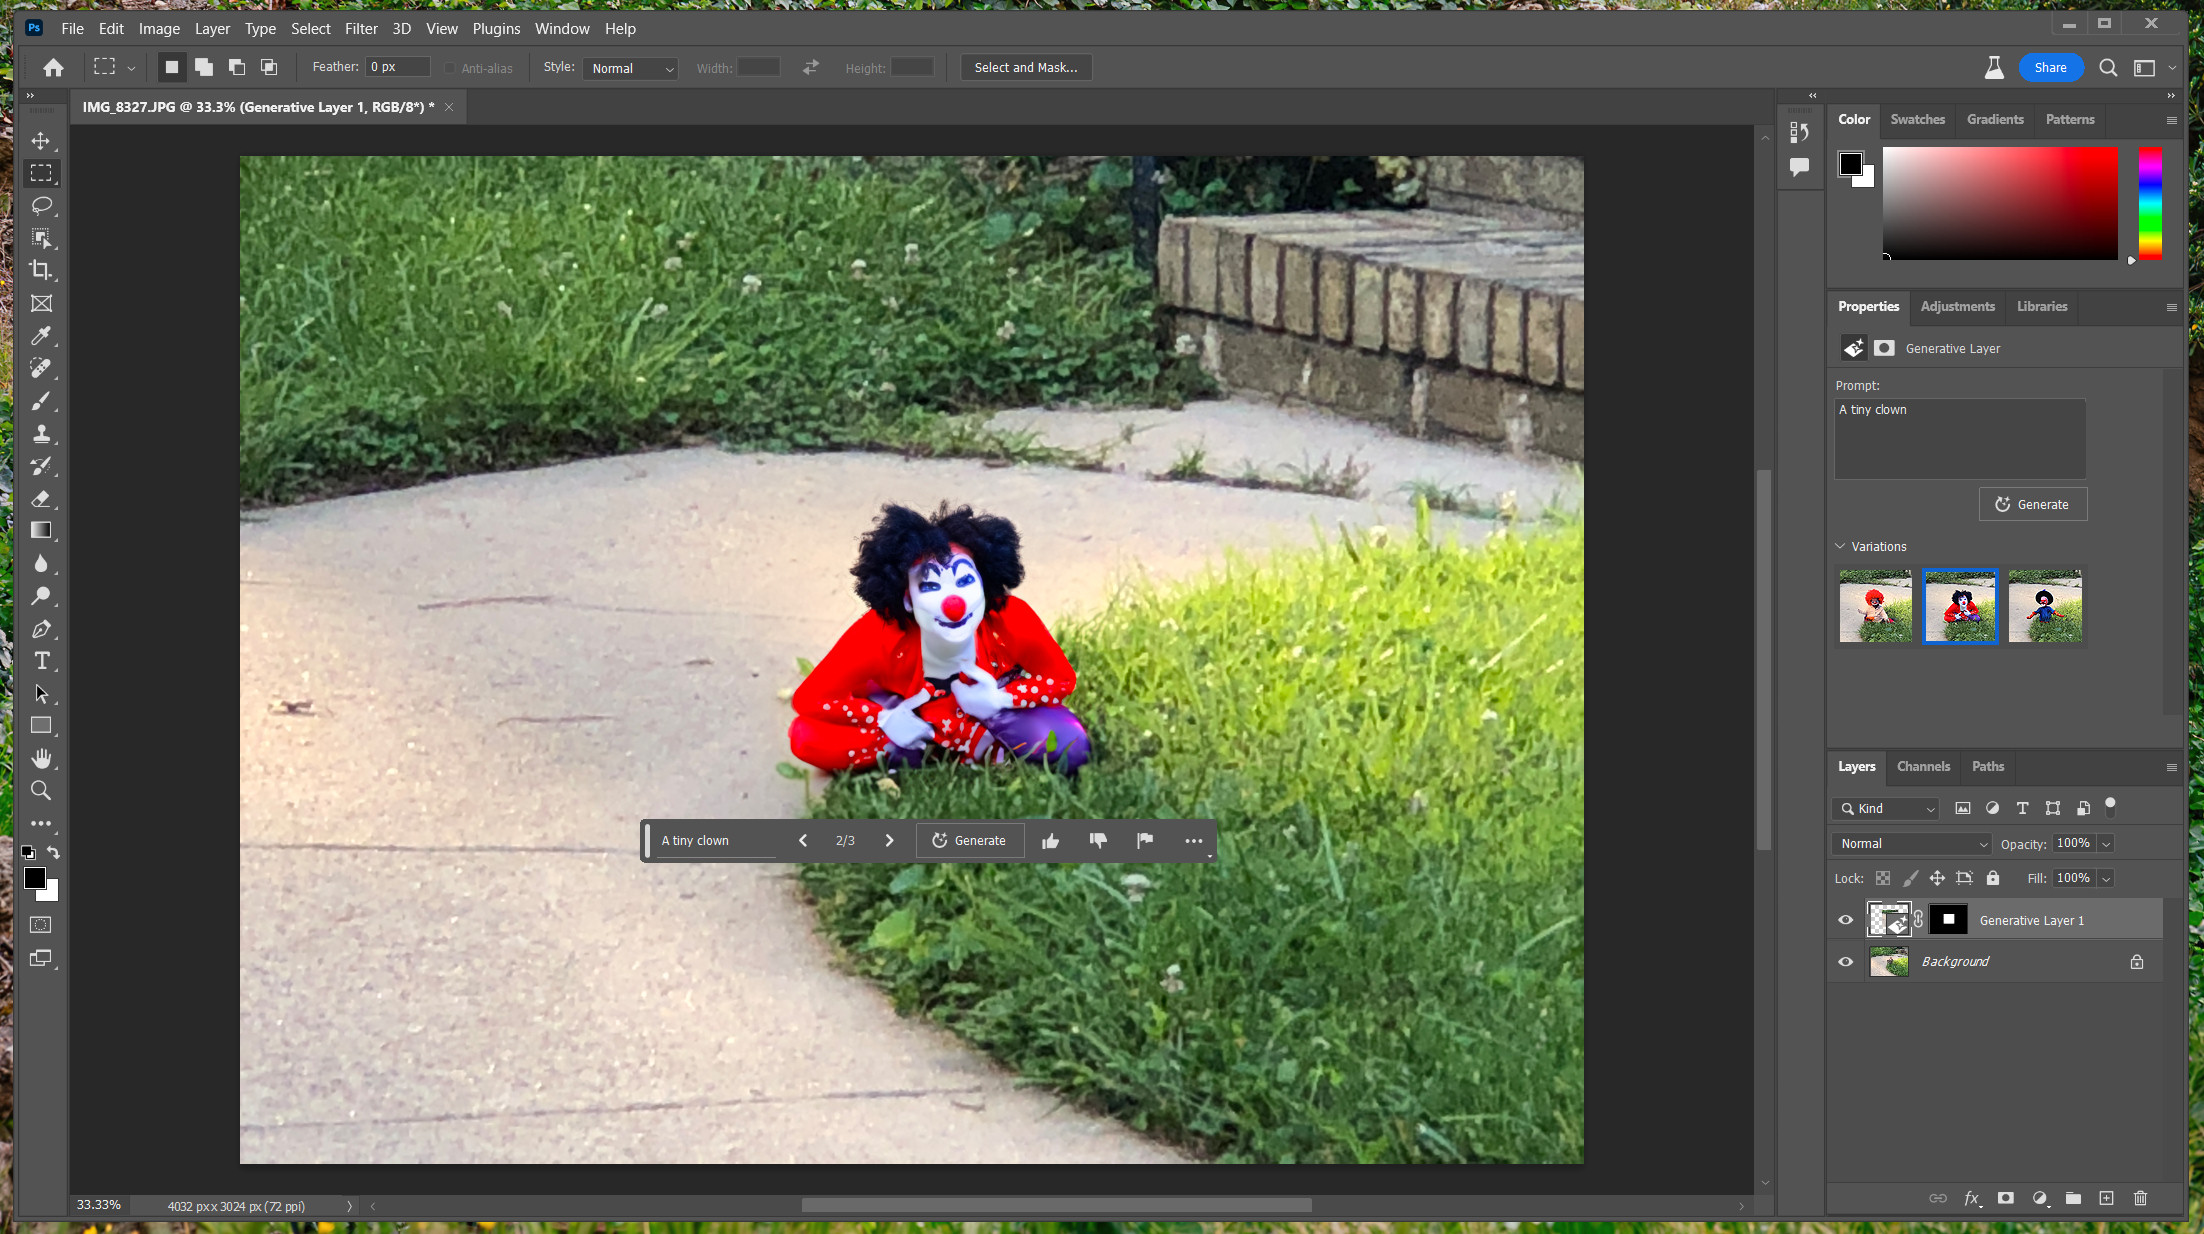
In the Generative Fill contextual taskbar, click on Generative Fill. Don't fill out the prompt box. Hit the Generate button to delete the selected object from the photo. Under the Variations.

Make stunning updates to your images with text prompts using Generative
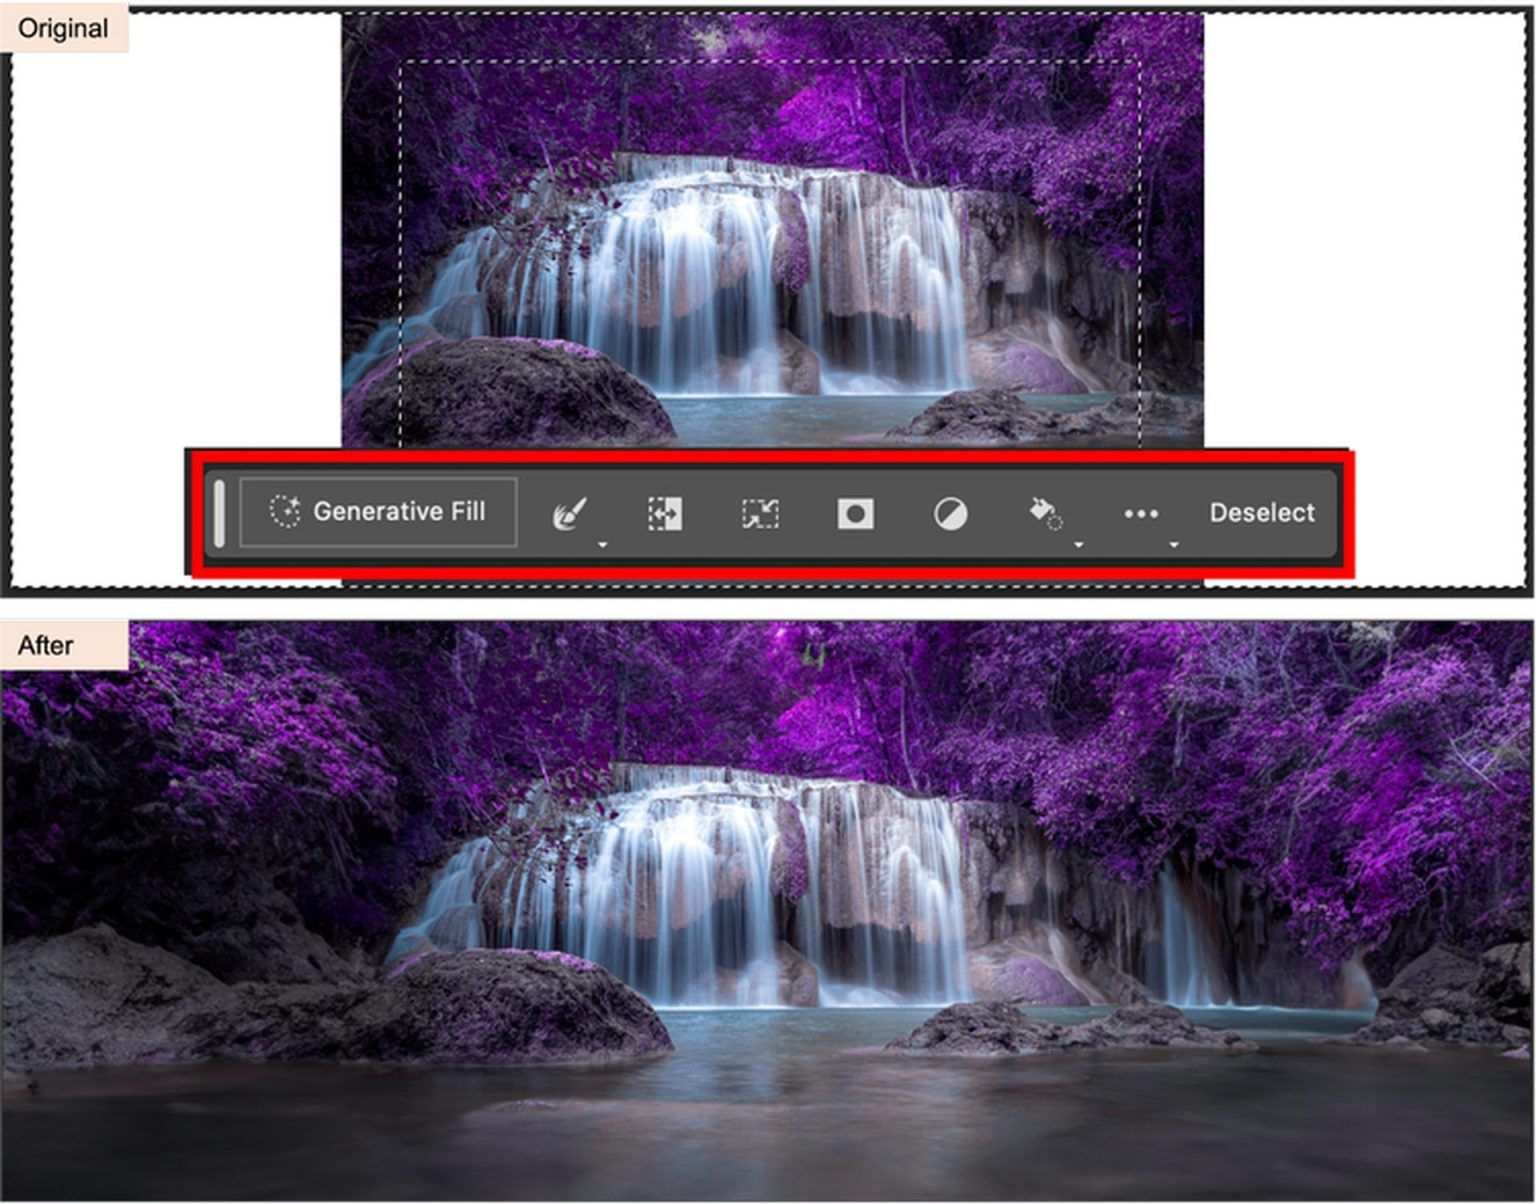
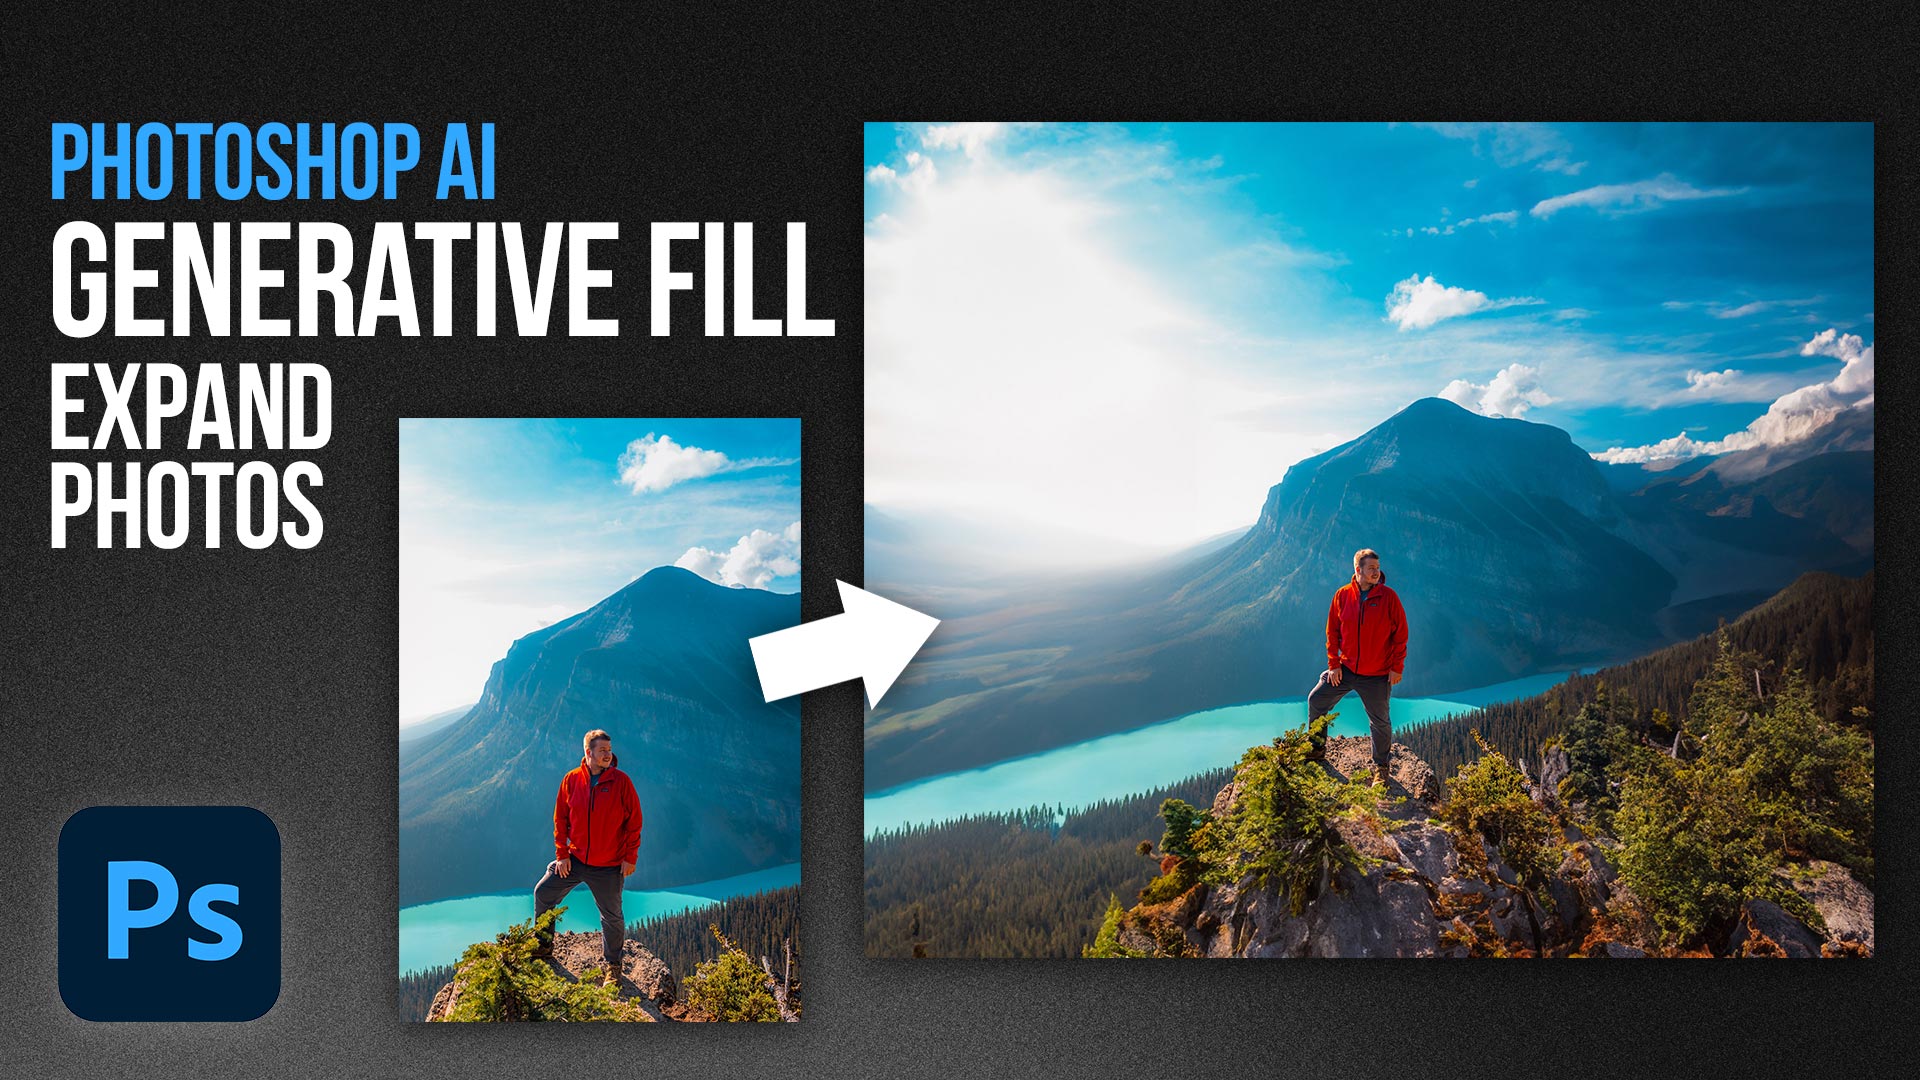
Select the empty areas, and overlap the edges of the existing image as reference. Extend the crop area, select the empty space and make sure to select into edges of the original image. As before, you can click Generative Fill and then click Generate without a text prompt to let Photoshop figure it out.
How to Use AI Generative Fill in 2023 (Detailed Tutorial)
10. Create an Image From Scratch. You can use Generative Fill to create images from scratch. All you have to do is create a New Document in Photoshop and choose the dimensions. Then add your selections and create your image, frame-by-frame. It's simply amazing what Generative Fill can create in Photoshop Beta.

How to Access and Use AIPowered Generative Fill
Generative Fill and Text to Template in Adobe Express. With the all-in-one content creation app for social posts, videos, PDFs, and more, you can use {{generative-fill}} to add, remove, or replace any part of your image. Plus, generate a template from a prompt with Text to Template. Learn more
How To Use AI Generative Fill Explained Dataconomy
Then click OK. Press the Alt + Backspace keys to fill in the selection. Your image should be masked with red. Press Q or click the Quick Edit icon to deselect the image. The red should vanish, and the Generative Fill menu bar should now be visible. Click on Generative Fill. A text box will appear.

Make stunning updates to your images with text prompts using Generative
To get around this problem, you will need to make a transparent selection. Here's how: Step 1: Open the Photo You Want to Edit. Step 2: Access the Quick Mask mode. Step 3: Create a selection with 40% brightness. Step 4: Exit the Quick Mask. Step 5: Use Generative Fill.
unveils ‘extraordinary’ generative AI that transforms
Step #5. Apply the AI Generative Fill and save your image: When you're satisfied with the preview, click on "Apply" to finalize the changes. The AI Generative Fill will fill the selected area, seamlessly blending it with the surrounding content. Save your edited image by going to "File" > "Save." Apply the AI Generative Fill.
How Generative Fill in will Change Everything You Know About
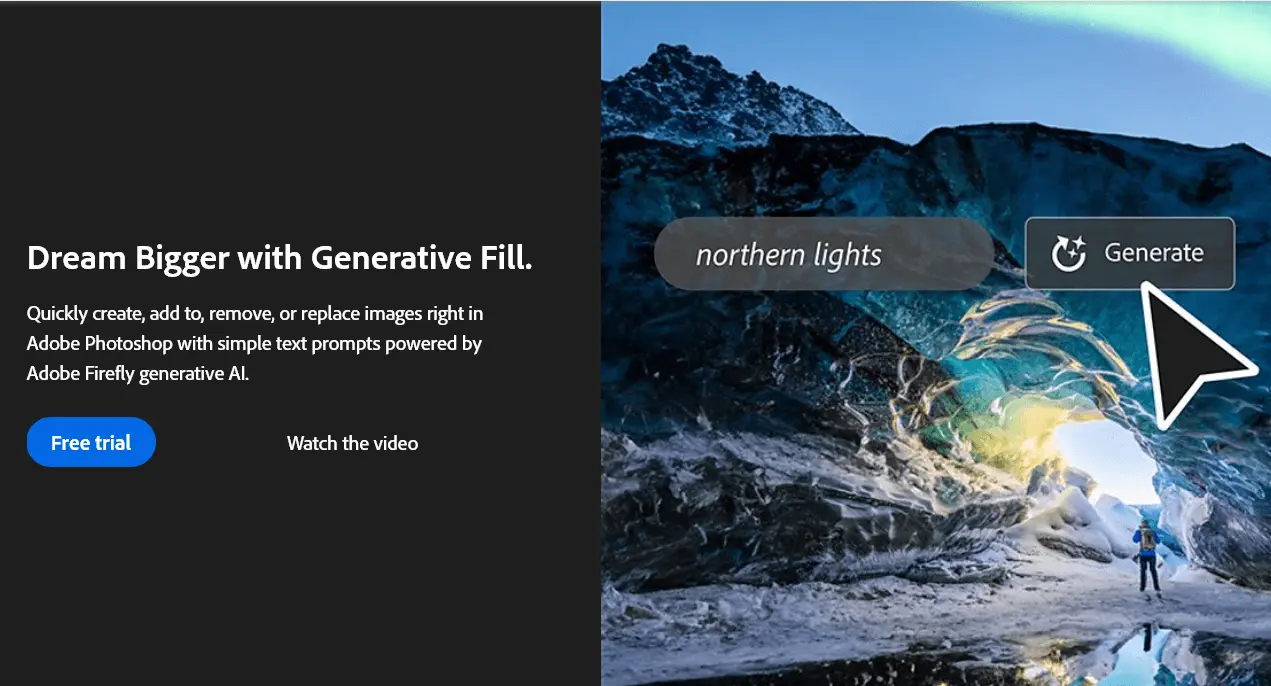
A revolutionary suite of Firefly-powered capabilities is now available in Photoshop on the web. Generative Fill and Generative Expand are Firefly-powered, generative AI features that are natively integrated into Photoshop and enable you to add, expand, or remove content from your images non-destructively, using simple text prompts. See how to use Firefly-powered generative AI capabilities in.
Adobe Generative Fill Easy With AI
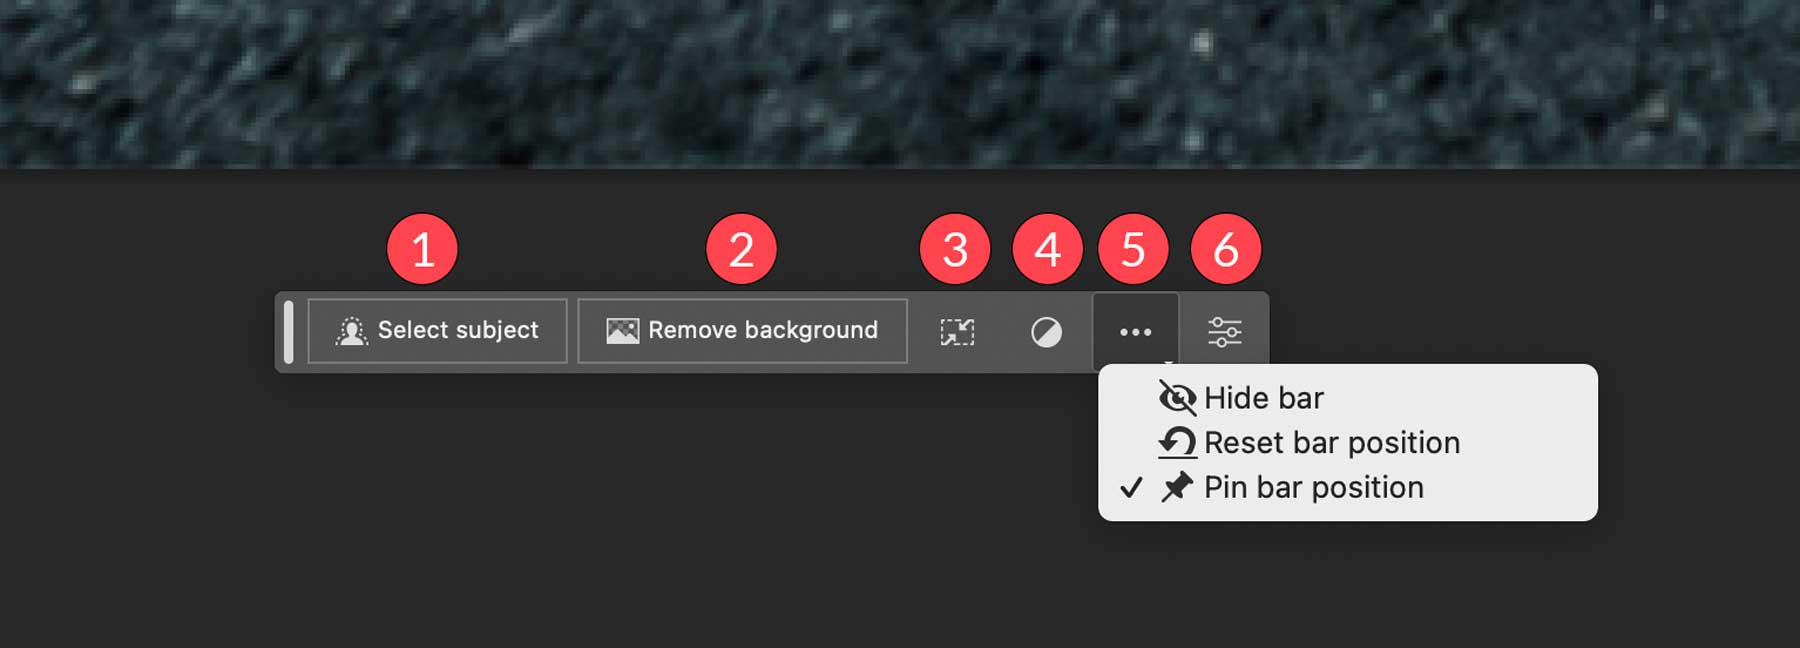
The Contextual Task Bar with the Generative Fill button pops onto your screen every time you make a selection so you can choose to continue forward with your normal selections workflow, or try generating something new like the extended crop in the image above that I generated with one click of the Generative Fill button and no text prompt at.
NEW Adobe Generative Fill AI Tool in Beta is a GAMECHANGER
Generative Fill uses AI to transform images based on text prompts. With Adobe's new commercial, generative AI will enter the mainstream spotlight, reaching audiences beyond just tech circles. While early adopters have embraced AI tools, a recent study found 44% of U.S. workers have yet to use generative AI, indicating its capabilities remain.
How to Use AI Generative Fill Tool Right Now Beebom
Use simple text prompts in over 100 languages to make beautiful images, transform text, play with colour and so much more. Adobe Firefly.. Generative Fill and Text to Template in Adobe Express. With the all-in-one content creation app for social posts, videos, PDFs and more, you can use Generative Fill to add, remove or replace any part of.
Adobe new “Generative Fill” AI tool lets you manipulate
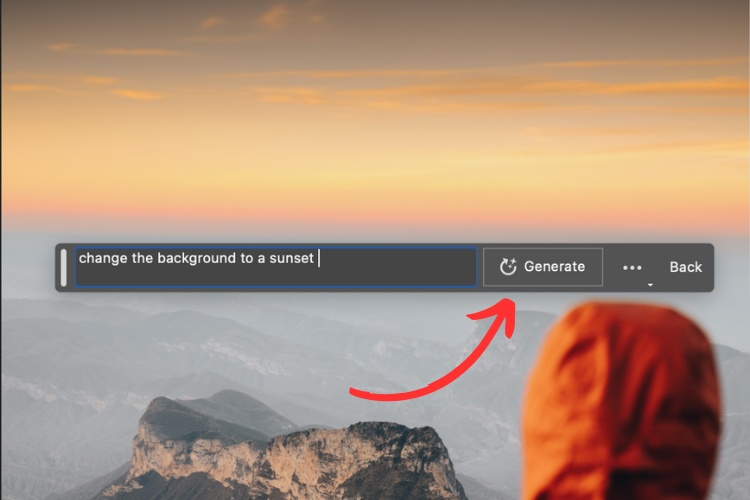
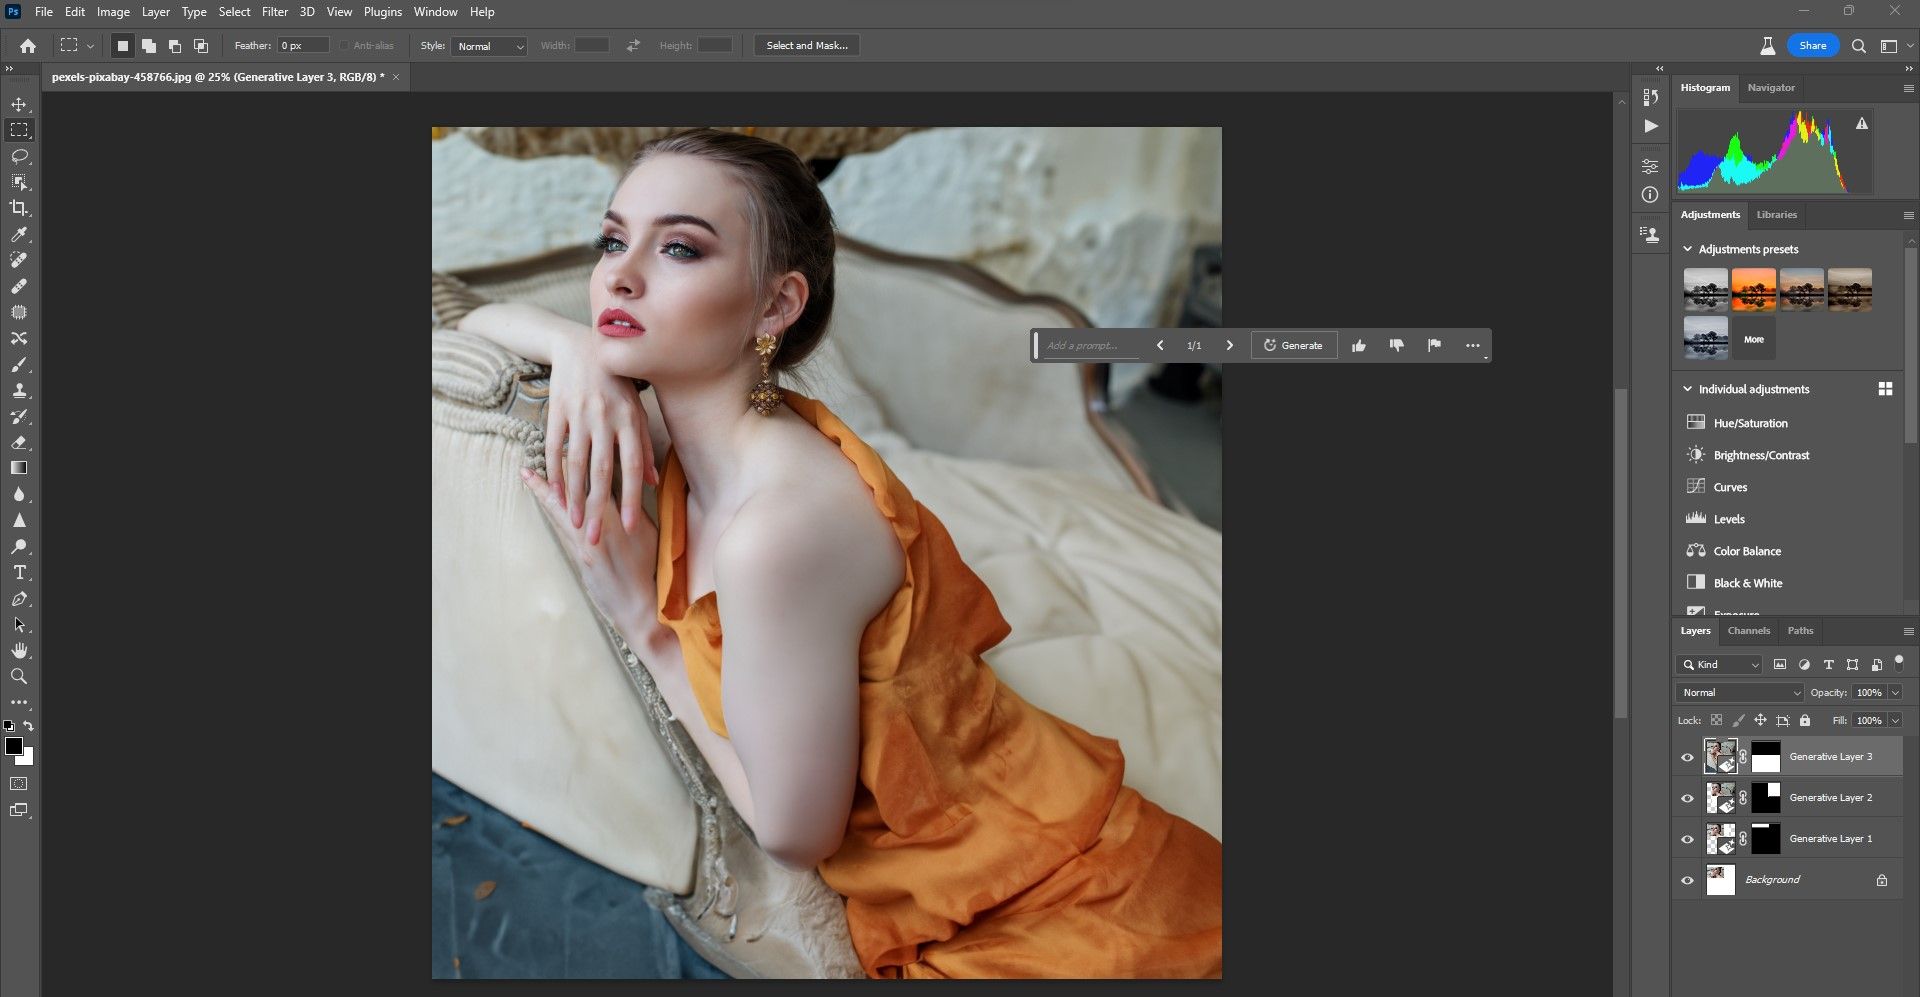
Step 4: Click Generate. When you have entered a text prompt click the Generate button in the taskbar. In seconds the AI Generative Fill tool will work its magic and devise a design for you based on your text. When the Generate button is clicked thumbnail previews will be generated in the properties panel based on your text prompt.
How to Use the Generative Fill Tool in
Start with an image, type your prompts, and create a whole new world with the AI-powered Generative Fill in Photoshop. Make a selection. Choose the Rectangular Marquee tool and drag to draw a selection around the back wall. From the Contextual Task Bar, click Generative Fill so you can fill that space with something extraordinary in the next step.
How to Extend Images with Generative Fill (Easy Guide)
AI fast meets Photoshop fine-tuning. Create more with complete control. Integrated into Photoshop, you can use Generative Fill and Generative Expand to make powerful edits and additions to images, then perfect them with Photoshop's precise editing tools. Plus, you can try it in your browser with Photoshop on the web and on the iPad app.

Generative Fill in The Ultimate Guide!
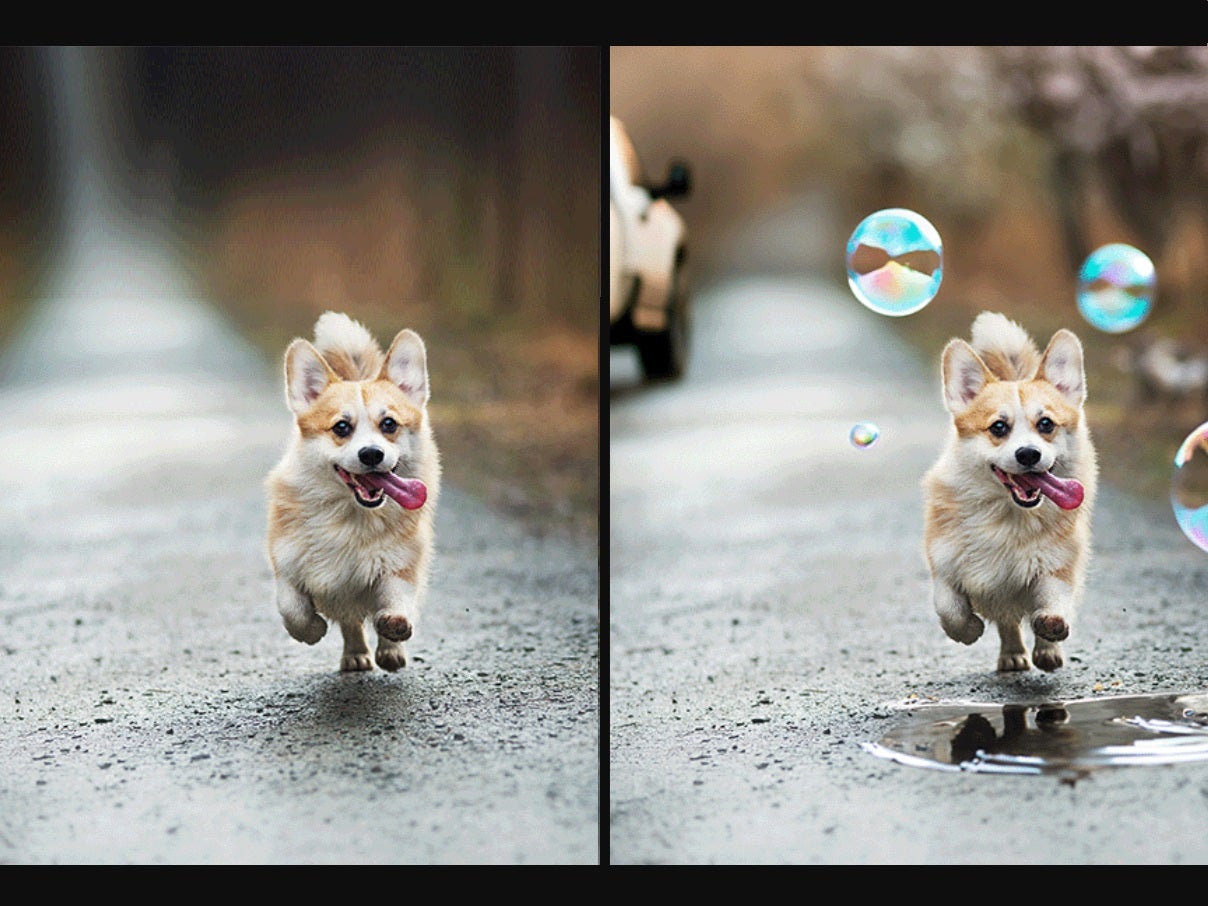
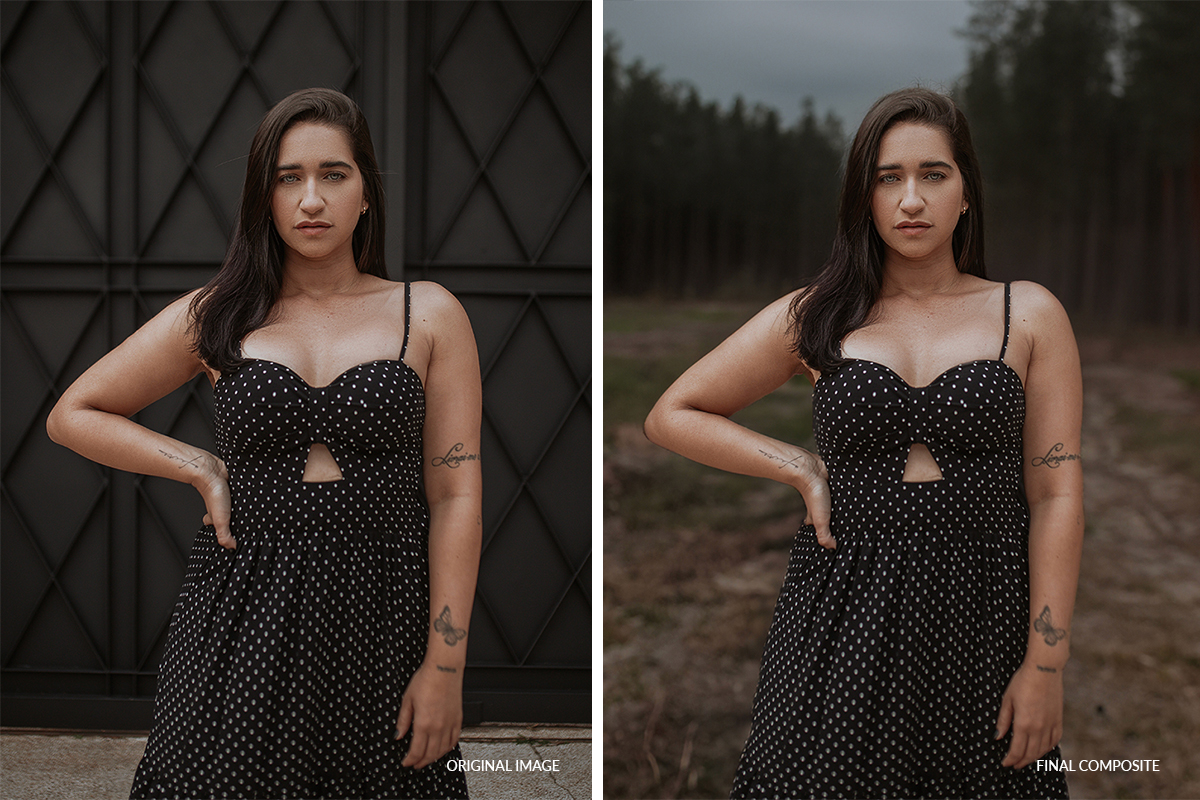
With Generative Fill, you can: Generate objects: Select an area in your image, then describe what you'd like to add or replace with a text prompt.; Generate backgrounds: Select the background behind your subject, then generate a new scene from a text prompt.; Expand images: Expand the canvas of your image, then make a selection of the empty region.. Generating without a prompt will create a.
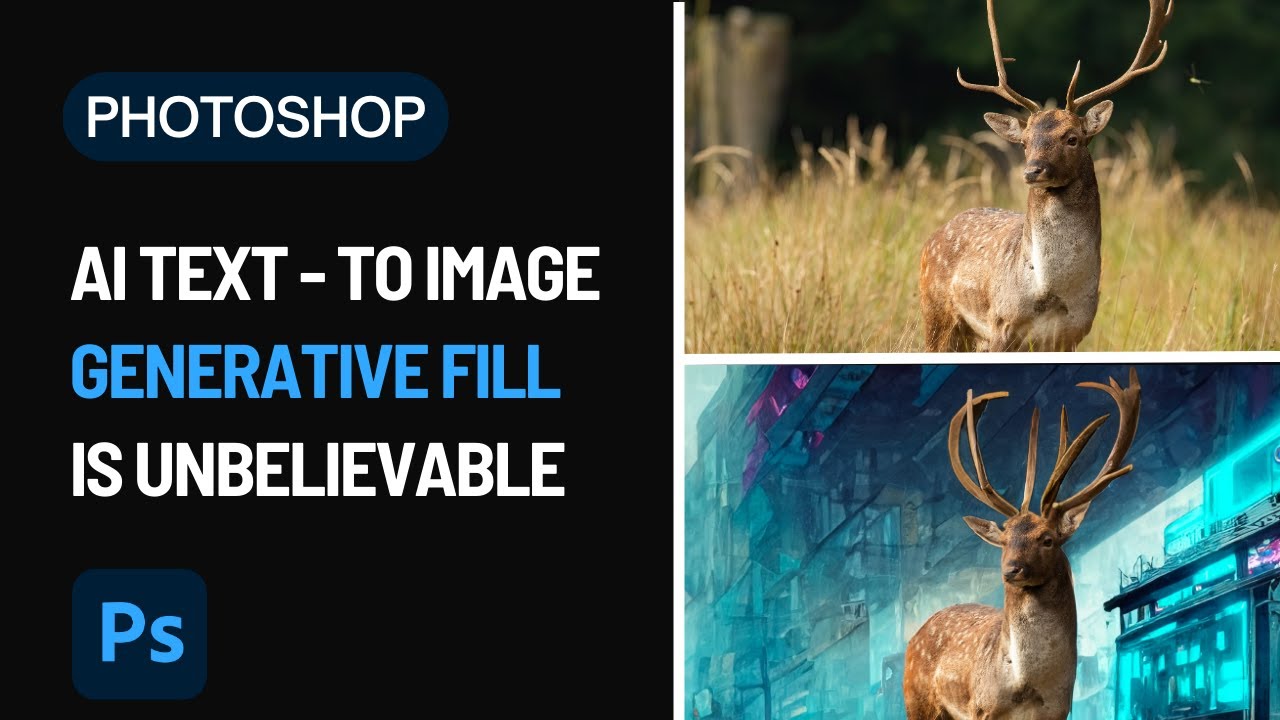
AI TextToImage Is Here! Generative Fill Is UNBELIEVABLE
Generate backgrounds: Select the background behind your subject, then generate a new scene from a text prompt. Extend images: Expand the canvas of your image, then make a selection of the empty region. Generating without a prompt will create a seamless extension of your scene. Remove: Select the area you want to remove, then let the GenAI.
